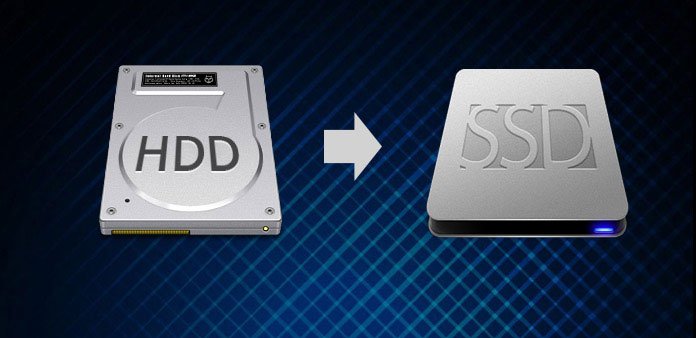
How to Easily Clone Your Laptop HDD to an SSD: A Step-by-Step Guide

How to Clone Your Laptop HDD to an SSD. Thinking about upgrading your laptop’s storage from an HDD to an SSD but worried about transferring all your files and settings? Fear not! With the right tools and a bit of know-how, you can easily clone your HDD onto an SSD right from the comfort of your own home.
In this guide, we’ll walk you through the process using the user-friendly Lazesoft software. And if you prefer to leave it to the experts, remember that Preloved Laptops offers a convenient HDD to SSD cloning service!
Contents
- 1 What are the benefits of cloning my Hard Drive to an SSD?
- 2 Step 1: Gather Your Tools
- 3 Step 2: Prepare Your SSD
- 4 Step 3: Install Lazesoft Disk Image & Clone
- 5 Step 4: Launch Lazesoft and Start Cloning
- 6 Step 5: Select Source and Destination Drives
- 7 Step 6: Begin Cloning Process
- 8 Step 7: Complete Cloning Process
- 9 Step 8: Boot Up and Verify
- 10 Prefer a Hassle-Free Option?
What are the benefits of cloning my Hard Drive to an SSD?
Cloning a hard disk drive (HDD) to a solid-state drive (SSD) offers several benefits:
- Improved Performance: SSDs are significantly faster than traditional HDDs, offering quicker boot times, faster application launches, and speedier file transfers. Cloning your HDD to an SSD can drastically enhance the overall performance of your system.
- Enhanced Reliability: SSDs have no moving parts, making them more resistant to physical damage and less prone to mechanical failure compared to HDDs. Cloning to an SSD can increase the reliability and longevity of your storage solution.
- Reduced Power Consumption: SSDs consume less power than HDDs because they lack spinning disks and moving read/write heads. Cloning to an SSD can lead to improved battery life in laptops and reduced electricity usage in desktops.
- Noise Reduction: Since SSDs don’t have moving parts, they operate silently compared to HDDs, which produce noise due to spinning disks and moving components. Cloning to an SSD can result in a quieter computing experience.
- Space Efficiency: SSDs are typically smaller and lighter than HDDs, allowing for more compact and portable storage solutions. Cloning from an HDD to an SSD can free up physical space within your device or system enclosure.
- Better Shock Resistance: SSDs are better equipped to withstand physical shocks and vibrations compared to HDDs, which are more susceptible to damage if dropped or bumped. Cloning to an SSD can provide added protection for your data in mobile devices or environments prone to movement.
- Future-Proofing: As SSD technology continues to evolve, future upgrades and advancements are more likely to be focused on SSDs rather than HDDs. Cloning to an SSD ensures that your system is better prepared for future improvements in storage technology.
Overall, cloning from an HDD to an SSD can result in significant performance improvements, increased reliability, and other benefits that enhance the overall computing experience.
Step 1: Gather Your Tools
Before you begin, make sure you have everything you need:
- Your laptop with the HDD you want to clone and the new SSD
- An external HDD enclosure or USB-to-SATA adapter
- A USB flash drive with at least 1GB of free space
- Lazesoft Disk Image & Clone software (download from their website)
Step 2: Prepare Your SSD
Connect your new SSD to your laptop using the external enclosure or USB-to-SATA adapter. Make sure it’s recognised by your computer.
Step 3: Install Lazesoft Disk Image & Clone
Download and install the Lazesoft Recovery Suite Home Edition software on your laptop. Follow the on-screen instructions to complete the installation process.
Step 4: Launch Lazesoft and Start Cloning
Launch the Lazesoft Recovery Suite Home Edition, and choose the Disk Image & Clone option. Select the “Clone Disk” option from the main menu.
Step 5: Select Source and Destination Drives
Choose your HDD as the source disk and your SSD as the destination disk. Make sure to double-check these selections to avoid any data loss.
Step 6: Begin Cloning Process
Once you’ve confirmed the source and destination drives, proceed to start the cloning process. Lazesoft Disk Image & Clone will begin copying all data from your HDD to the SSD.
Step 7: Complete Cloning Process
Once the cloning process is complete, shut down your laptop. Disconnect the HDD and replace it with the newly cloned SSD.
Step 8: Boot Up and Verify
Boot up your laptop with the new SSD installed. Your system should now boot from the SSD with all your files and settings intact!
Prefer a Hassle-Free Option?
If you’d rather leave the cloning process to the experts, Preloved Laptops offers a convenient HDD to SSD cloning service across the UK.
Simply click here and purchase the service, then send us your laptop and new SSD as instructed. Our team will handle the cloning process for you, ensuring a seamless transition to your new SSD.
Don’t hesitate to reach out to us via live chat on our website or by calling our contact number at 01524 740 200 if you have any questions or need assistance. We’re here to help you make the transition to an SSD as smooth and stress-free as possible!
Upgrade your laptop’s storage today and experience the speed and reliability of an SSD with Preloved Laptops!
One thought on “How to Easily Clone Your Laptop HDD to an SSD: A Step-by-Step Guide”